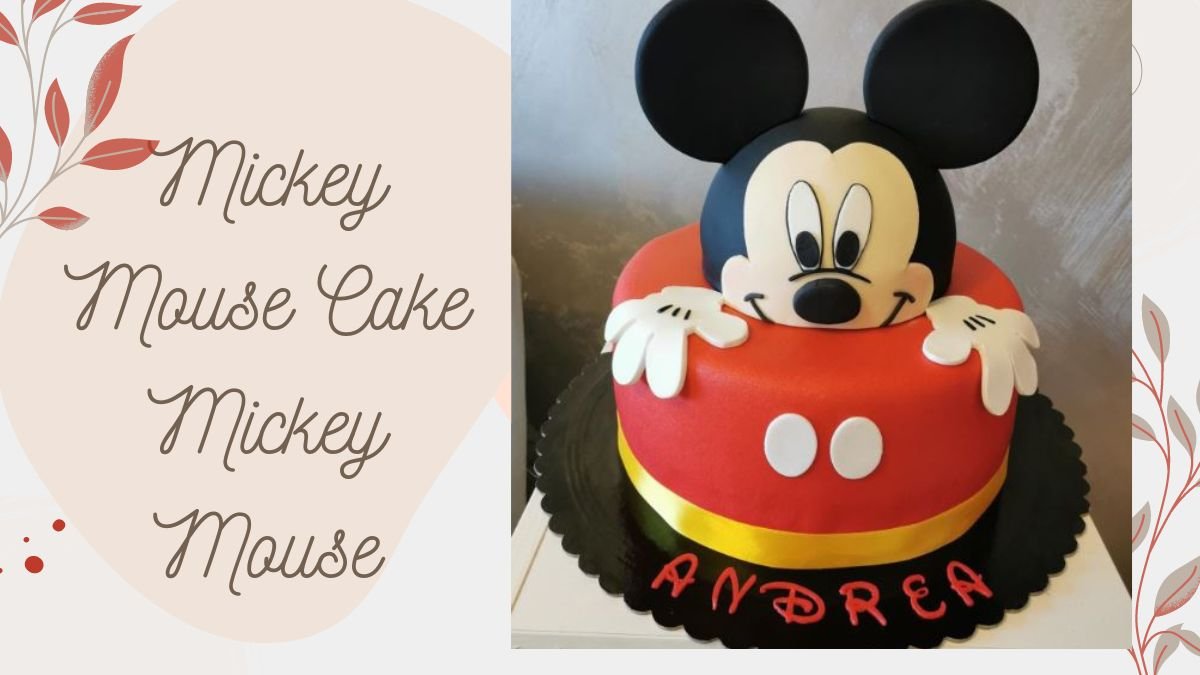
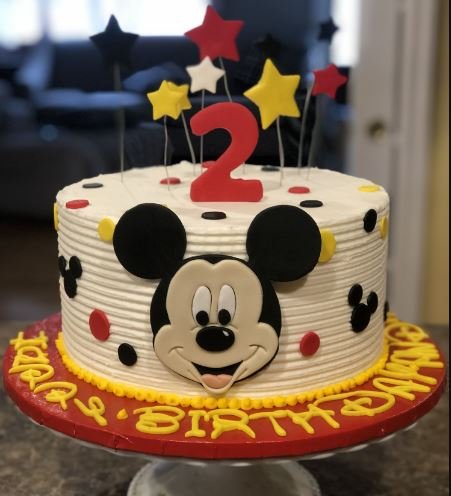
Mickey Mouse Cake Mickey Mouse
A Mickey Mouse cake is a great fun birthday party or special occasion. It makes the perfect party cake, for birthdays, any kind of celebration or just whenever you want a bit of Disney magic.
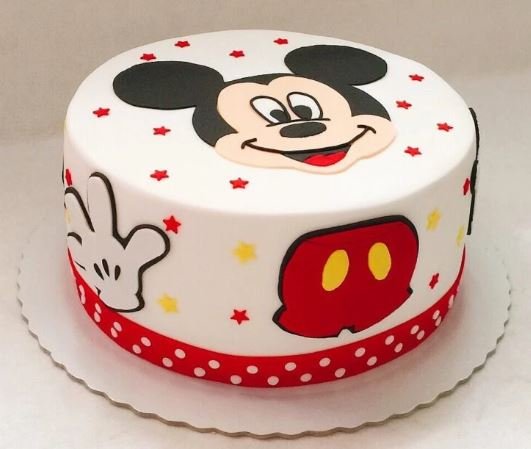
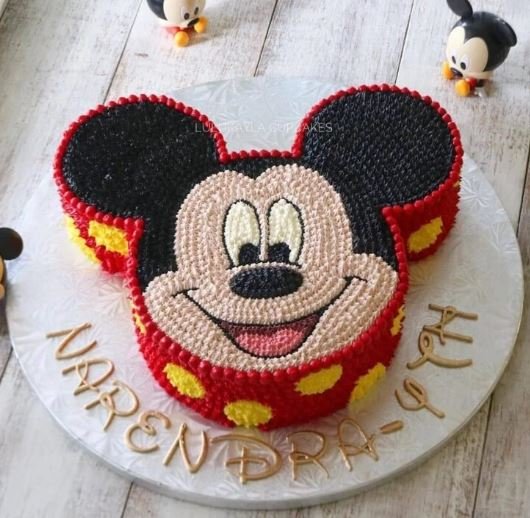
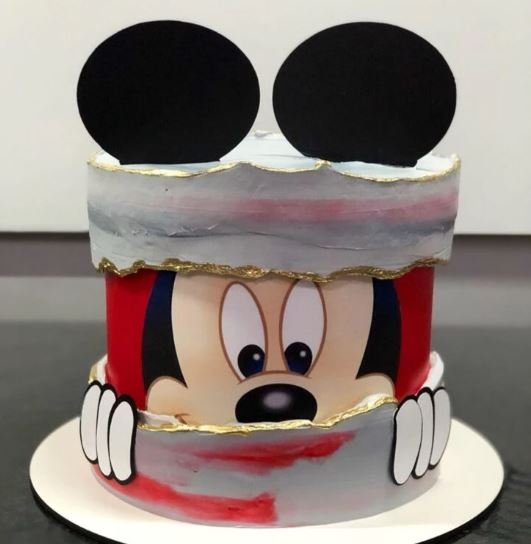
Whether it’s made using a special cake mould or crafted with icing and decorations to represent Mickey’s iconic ears and cheerful face, the Mickey Mouse cake brings joy and excitement to children and adults alike.
In this article, we will explore how to make a Mickey Mouse cake, what tools and ingredients you’ll need, and why this cake is such a beloved treat for fans of all ages.
Ingredients for a Basic Mickey Mouse Cake
For a classic Mickey Mouse cake, you’ll need the following ingredients:
For the Cake:
- 2 cups all-purpose flour
- 1 1/2 teaspoons baking powder
- 1/2 teaspoon baking soda
- 1/4 teaspoon salt
- 1 cup unsalted butter, softened
- 1 1/2 cups granulated sugar
- 3 eggs
- 1 tablespoon vanilla extract
- 1 cup milk
For the Frosting:
- 1 cup unsalted butter, softened
- 3-4 cups powdered sugar
- 2-3 tablespoons milk
- 1 teaspoon vanilla extract
- Black, red, and yellow food colouring
Instructions for Making the Cake
Step 1: Prepare the Cake Pans
You can check out the ingredients for our Classic Mickey Mouse Cake recipe and make sure you have two 8-inch round cake pans (for the face) and two smaller 4-inch round cake pans (for the ears). Heat your oven to 175°C (350°F) and generously grease the pans with butter or nonstick spray.
Step 2: Mix the Dry Ingredients
In a medium-sized bowl, whisk together the flour, baking powder, baking soda, and salt. Set aside.
Step 3: Cream the Butter and Sugar
In a large bowl, beat softened butter and sugar until light and fluffy (2-3 minutes). Beat in the eggs one at a time, then vanilla.
Step 4: Combine Wet and Dry Ingredients
Mix the dry ingredients into the butter mixture alternating with the milk until just combined. Do not mix too much, the cake has to be soft and airy.
Step 5: Bake the Cakes
Spread the rest of the batter into prepared pans, more into larger pans for Mickey’s face and less going to smaller pans for ears. Bake for 20-25 minutes or until a skewer inserted in the middle comes out clean.
Cool cakes in pans on wire racks for 10 minutes; remove from pans; cool completely on wire racks.
Frosting and Decorating Your Mickey Mouse Cake
Prepare the Frosting
While the cakes are cooling, prepare the frosting. In a large bowl, add softened butter and beat until creamy. Add powdered sugar 1 cup at a time until smooth. The mixture with vanilla and milk (add a little milk at a time so the spread will be in consistent).
Colour the Frosting
Separate frosting into three bowls. You can make three different colours red, yellow, and black with the help of food colour. If you don’t have black food colouring, you can use dark chocolate frosting for Mickey’s ears and face outline.
Assemble the Cake
Once the cakes have cooled, arrange the two small cakes as Mickey’s ears on either side of the larger cake for the face. Secure them with a bit of frosting if needed.
Frost the Cake
Start by frosting the entire cake with a thin layer of black frosting to cover the face and ears. Then, use red frosting for Mickey’s iconic red shorts at the bottom of the cake and yellow frosting for his shoes or buttons, depending on your design.
For the finer detailing (like Mickey’s face features etc) you can use a piping bag.
Decorating Ideas for a Mickey Mouse Cake
There are many ways to customize your Mickey Mouse cake depending on your style and skill level. Here are some fun decoration ideas:
- Candy and Sprinkles: Use round candies, such as M&M’s, to create Mickey’s eyes and nose. Sprinkles can add extra fun to the borders of the cake.
- Fondant: For a smoother, more professional finish, use black, red, and yellow fondant to cover the cake and create Mickey’s face and shorts.
- Edible Image: You can print an edible image of Mickey Mouse and place it on top of the cake for tons of detailed design without all the work.
- 3D Mickey Cake: For those who want to go all out, consider making a 3D Mickey cake using shaped cake pans or building layers of cake to create a full Mickey Mouse figure.
Variations of the Mickey Mouse Cake
If you want to mix things up, try these variations for different flavours and styles:
- Chocolate Mickey Mouse Cake: Use a chocolate cake base instead of vanilla, and pair it with chocolate or vanilla frosting.
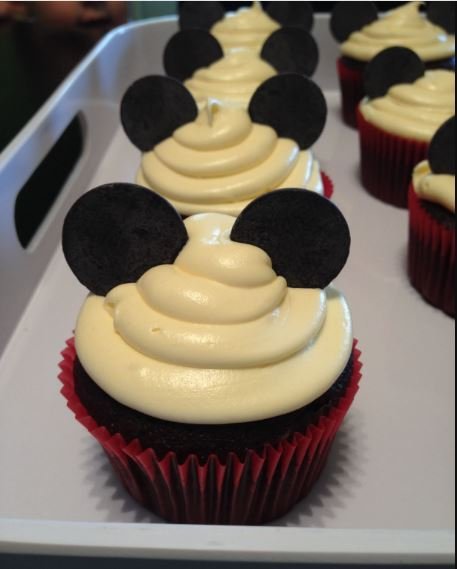
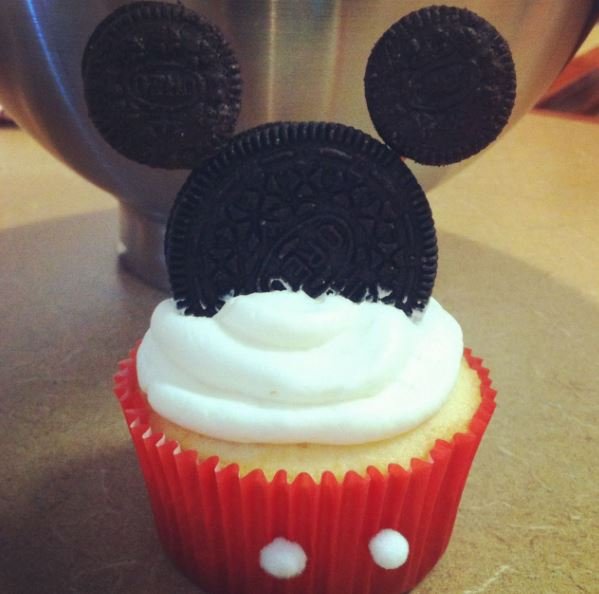
- Mickey Cupcakes: bake some cupcakes and garnish them with Mickey’s face.GeneratedValue Top with mini Oreos for ears and garnish!
- Gluten-Free Mickey Cake: replace flour with gluten-free flour and all ingredients must be gluten-free
Tips and Tricks
- Keep It Simple: If you’re short on time or not experienced with cake decorating, stick to basic shapes and frosting. Even a simple Mickey Mouse face will impress guests.
- Use Gel Food Coloring: Gel food colouring works best for achieving vibrant colors without making the frosting too runny.
- Chill the Cake: After assembling the cake, chill it for about 30 minutes before applying the final layer of frosting to avoid crumbs in your finished design.
Conclusion
A Mickey Mouse cake is the perfect way to celebrate any special occasion, especially birthdays for young children or Disney fans. With simple ingredients and a little creativity, you can create a cake that’s as charming as Mickey Mouse himself.
Whether you’re a seasoned baker or trying your hand at cake decorating for the first time, this cake will surely bring smiles and joy to your celebration.